The Every Day Warrior: Announcing My New Book on Cultivating the Warrior Mindset

Hello everyone,

I hope this post finds you well. I’m thrilled to announce the release of my latest book, “The Everyday Warrior: A Practical Guide to Cultivating Resilience, Discipline, and a Warrior Mindset in the 21st Century.” This has been a long journey filled with ups and downs, but the result is something I couldn’t be more proud of.

The Genesis of the Idea

The idea for the book came to me a couple of years ago. I was in the midst of one of the most challenging periods in my life. Personal setbacks and professional hurdles made me question the path I was on. That’s when I stumbled upon the concept of the “warrior mindset” — a set of attitudes and beliefs that help you navigate through life’s challenges with grace and resilience.

As someone who has always been interested in human psychology, resilience, and the potential for transformation, I realized the warrior mindset was the missing puzzle piece I had been searching for.

What Is the Warrior Mindset?

The warrior mindset is a mental framework that helps you approach life with courage, discipline, and a commitment to personal growth. This mindset isn’t reserved for soldiers or athletes, but it’s for anyone who aims to live a fulfilling life, take on challenges head-on, and be the best version of themselves.

What Can You Expect From the Book?

The book is divided into 11 comprehensive chapters, each designed to give you a deep understanding of what the warrior mindset entails. We start by diving into the core principles and then move on to practical applications, including:

  • Real-life case studies from various walks of life
  • Strategies for cultivating the warrior mindset in everyday situations
  • Cultural and historical perspectives on the warrior mindset

I’ve also incorporated actionable tips, exercises, and routines that you can incorporate into your daily life.

Who Is This Book For?

This book is for everyone. Whether you’re an executive looking for that extra push, a parent trying to balance work and family, an athlete aiming for the top, or someone going through a tough phase, this book has something for you.

Why Read This Book?

We live in a fast-paced world filled with uncertainty and challenges. The pandemic alone has shown us how quickly life can throw curveballs our way. Cultivating a warrior mindset prepares you for such challenges and equips you to turn adversities into opportunities.

How to Get Your Hands on the Book

“The Everyday Warrior: A Practical Guide to Cultivating Resilience, Discipline, and a Warrior Mindset in the 21st Century” is available in digital and print formats. You can order it from Amazon here,

Closing Thoughts

Writing this book has been a transformative journey for me. I’ve applied the principles of the warrior mindset in my own life, and I’ve seen the immense value it offers. My hope is that this book serves as a guide and companion in your journey towards resilience, courage, and personal growth.

Thank you for your continued support, and I can’t wait for you to embark on this journey with me.

Warm regards,

Steven Lawton

Mounted Fencing Clinic at Historic Equitation

With everything going on in 2019-2020 – reenactment events have been nonexistent; everything has been closed. While 2021 is looking up because there might be some historical shows this year, it is not going back to normal soon.

I’ve been on the lookout for other things to do with that in mind. Then, the Wednesday before, I found out about a Mounted Fencing Clinic run by Dominic, Emily, and their team at Historic Equitation in Sudborough, Northampton.

It was a two-day event at their equestrian yard, set up to train horses and riders in the art of historical riding and horsemanship. In addition, every month, Dominic Hosts a clinic of some sort on all aspects of historical riding and horsemanship.

The clinic, described as their first in 2021 in a post COVID19 world, on the topic of mounted fencing. The website says the clinic covers the historical methods from the manuals written by the Medieval masters Talhoffer, Kal, and Lichtenauer.

For those unfamiliar with the term clinic, a clinic is a conference or short course on a particular subject. In this case, it’s a group of interested people who either loan a horse from Historic Equitation for the day or bring their horse. The intent is to work on their medieval mounted fencing techniques described in the medieval fight manuals as a group. 

HEMA (Historical European Martial Arts) practitioners will be familiar with these fight manuals and the masters that created them. They have painstakingly recreated medieval fighting styles and systems from these manuals.

Teaching people how to be effective fighters is an old profession. As long as there have been people fighting, I’m sure there have been people instructing on fighting. The earliest of these European manuscripts that we know about is I.33, currently housed in Leeds Armouries. The I.33 manuscript dates to about 1270-1320 C.

You have to imagine that back in the day if you were an important person of high status, you had to be able to ride a horse, you had to be able to fight. Your position in society and your life depended on it. These elites have money and naturally pay to have the best instruction.

Some of the manuals created served as a sort of advertisement, like a mailshot today. The masters would send these fight books around, looking for customers, “if you pay me to train you, this is what you will be able to do *shows the book*.” Sometimes as an aide-memoire for people who had already paid and received training. So they could go away and train and refresh their memories on the moves and methods.

What Dominic From Historic Equitation is doing is teaching the mounted, horse-based parts of these treatises. If you are like me – this is perfect, even if you’re not a rider – Dominic and his team will be able to sort something out for you. Check out their website, get in contact and let them know I sent you. 

With covid restrictions now being eased, it is essential to get out and support places like Historic Equitation that teach these very niche and specialised skills. 

I am looking forward to the next clinic at Historic equitation and the 2021 show season.

Team goes to The Big Apple! – The Last Knight

Five of us from the Historic Equitation team went to The Metropolitan Museum of Art, to see their “Last Knight” exhibit, our end of season team outing.

This is becoming a habit for me. My last trip to the States was while my other half was 32 weeks pregnant with our son. This time she was 30 weeks pregnant with our daughter.

The Last Knight: The Art, Armor, and Ambition of Maximilian I examines the profound significance of European armor at the dawn of the Renaissance, through the lens of Emperor Maximilian I’s (1459–1519) remarkable life. On view only at The Met, The Last Knight coincides with the five-hundredth anniversary of Maximilian’s death, and is the most ambitious North American loan exhibition of European arms and armor in decades. Including 180 objects selected from some thirty public and private collections in Europe, the Middle East, and the United States, The Last Knight will explore how Maximilian’s unparalleled passion for the trappings and ideals of knighthood served his boundless worldly ambitions, imaginative stratagems, and resolute efforts to forge a lasting personal and family legacy.

The exhibition, according to The Met

The plan, so far for me, had been, get to the train station, get on a train to the airport, sit on a plane for ages to get to JFK, find a taxi to get to the hotel.

We all arrived late into NYC, and most of us found ourselves sat in a italian restaurant, eating pizza. We had all converged from round the world, and somehow managed to be sat in the same restaurant, at the same time, several thousand miles from home, making a game plan for the next few days.

“It’s the most important exhibit of armour in a generation” – Dr. Tobias Capwell, curator of arms and armour at the Wallace collection in London. While he was here on work duties, we were here to oggle the armour, take notes, and take a lot of pictures.

And oggle we did; in total we spent 4 days in the museum looking at armour, gaining cool tidbits of info, looking at the awesome armour, exploring, and looking at the armour.

Anyway, back to the main attraction, The Last Knight: The Art, Armor, and Ambition of Maximilian I. Without spoiling or giving too much away, let’s start at the beginning. There we were, in the line for opening at 10am, we rush through the museum following signs to the exhibit. Naturally we are the 1st there.

The Entrance to the empty exhibit looks like a book cover…

The 1st thing that struck me about the exhibition, is how many of these objects I’ve seen online, on Pinterest, in books… seeing this all in one place at the same time. It’s normally scattered all-round the world.

Some of the highlights for me – there were so many more cool things there – this is not an exhaustive list, but anyway…

Now can go round a meuseum, look t stuff take pictures, read ye info boards…i don’t necessarily appreciate the details of what I’m seeing. The benifit of going round with a group like ours, with Dominic, with Toby. Being told why the pieces are so significant. What makes this bit so significant, why this piece is here ….

The details I’d never know, but at pointed out to me, but our group all has a unique view and a reason for been there .. all can add their knowledge to the collective group. I think we all learned alot.

While we did spend alot of time there , in the Maximilian exhibition. We did spend alot of time else where ( they have a lot of stuff at he met) and again, it was really cool seeing stuff I’ve seen online in images in the actual flesh. The people’s photos I’ve seen online to this point are their views, their focuses, the zoom in on the details that they are interested on.

Take for example this shield below.. I’ve never seen it from this angle … as some one that makes shields to be used for modern day jousting … This view is priceless.

No one wants to take pictures like this. But to me … I can see how the layers are built up..

Being there, I can see all the details. Take photos of the bits that are relevant to me. It’s going make what I do better. It’s also inspired me to change what Im building

Battle of Hastings 2019

The Battle of Hastings is a good show for me. This was the show that was the start of my change from reenactment, to professional rider. I decided I needed space from my Regia group back in 2012, decided I was going to learn to ride, and do “reenactment riding”. Sat around a campfire, at a show fenced in on a showground in Burton on Trent,(the locals were more interested in robbing the sites medical tent than us) I got chatting to the guy that ran the Regia riding group. He suggested I speak to Dominic Sewell at Historic Equitation, as it was literally 10 min from where I lived and Dominic was probably one of the best historical riders in the country. I said I wanted to do the next Hastings, going, over the next 10 months, from never ridden before to competent enough to ride at Hastings. I had weekly riding lessons with Dom, and every training session going with the horse reenactment groups.

I had to make and/or acquire all my kit, learn to ride and pass the safety checks all the various groups required before allowing people into a battlefield on 1/2 a tone of muscle.

I did it, made it to the show … Did the traditional 7am training session. Didn’t die. It was however raining, raining heavy.

It didn’t stop, it kept raining, and the show happend, I didn’t die… Win. However the event was called. It was too dangerous to do anything on horses, and the ground was trashed.

Fast forward to 2019…

A few days to go.

I’ve just started really thinking about this show now we have done the training at Historic Equitation this weekend gone. I’m starting to think about packing, making a list of what to pack. What kit I need to take? Does any of it need repairs? I need to find kit? Generally for a show I know what needs packing because there’s a standard show, so it’s the same kit… Every time

Hastings is the only one like this. So I tend to think about it abit more.

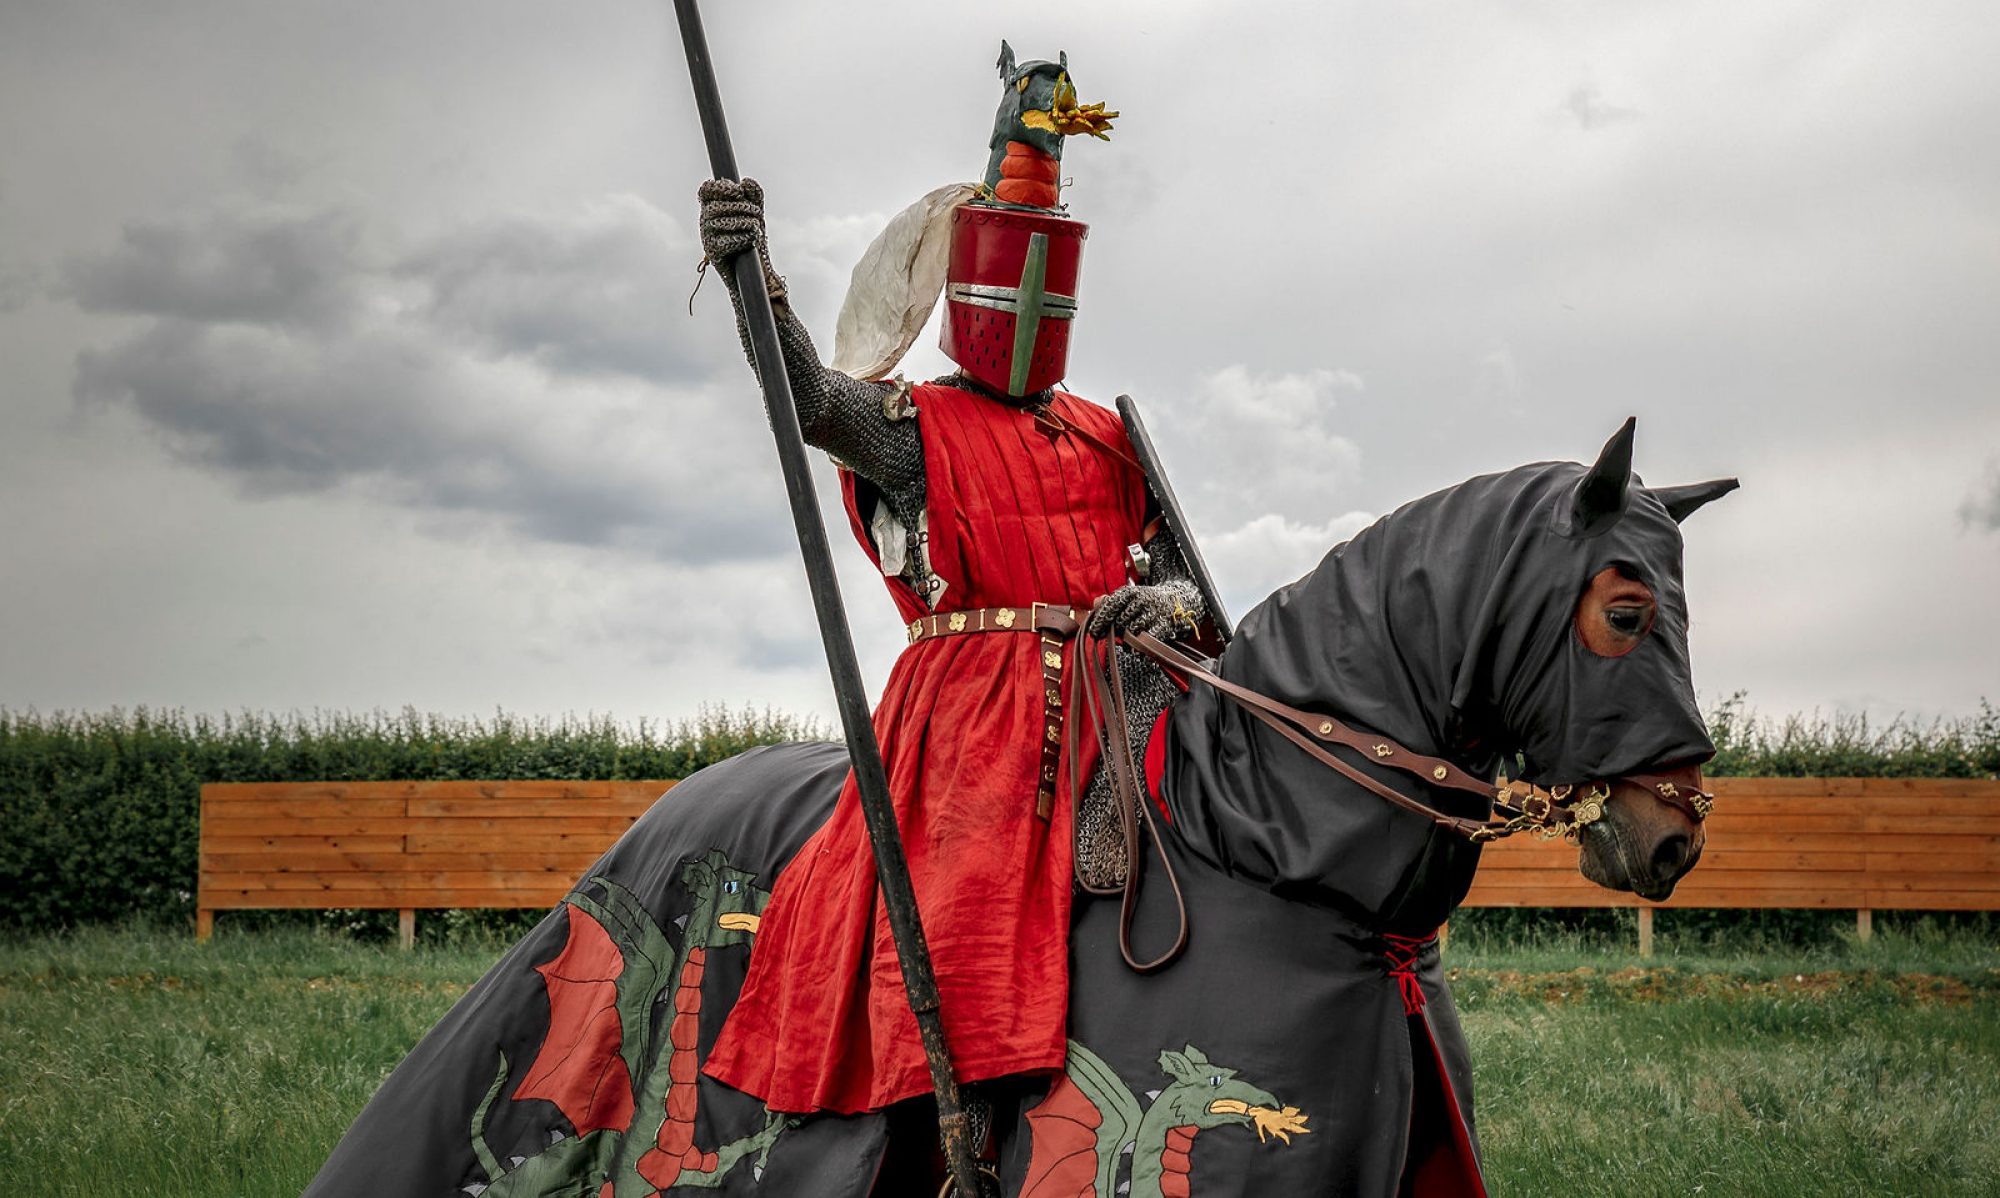
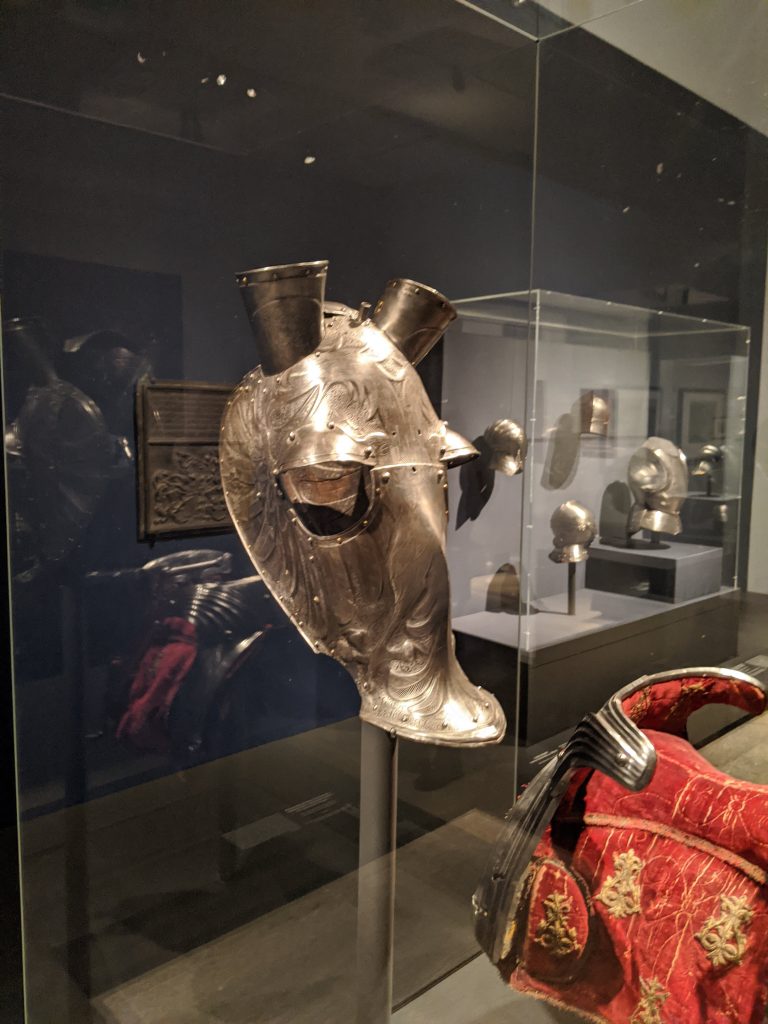
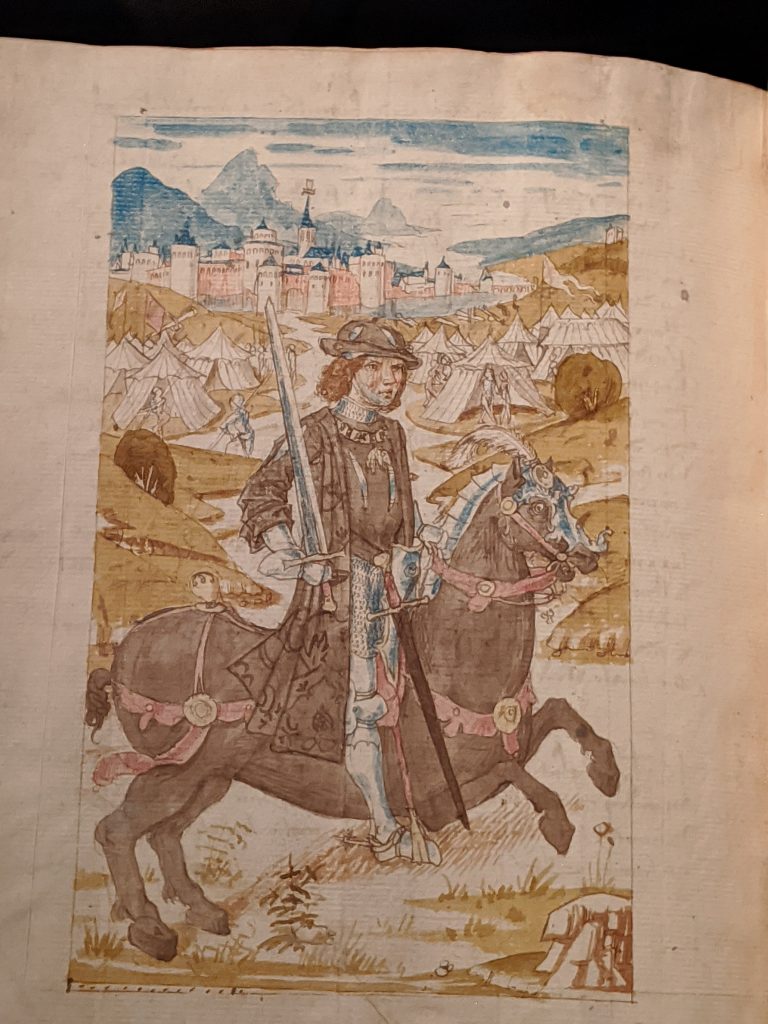
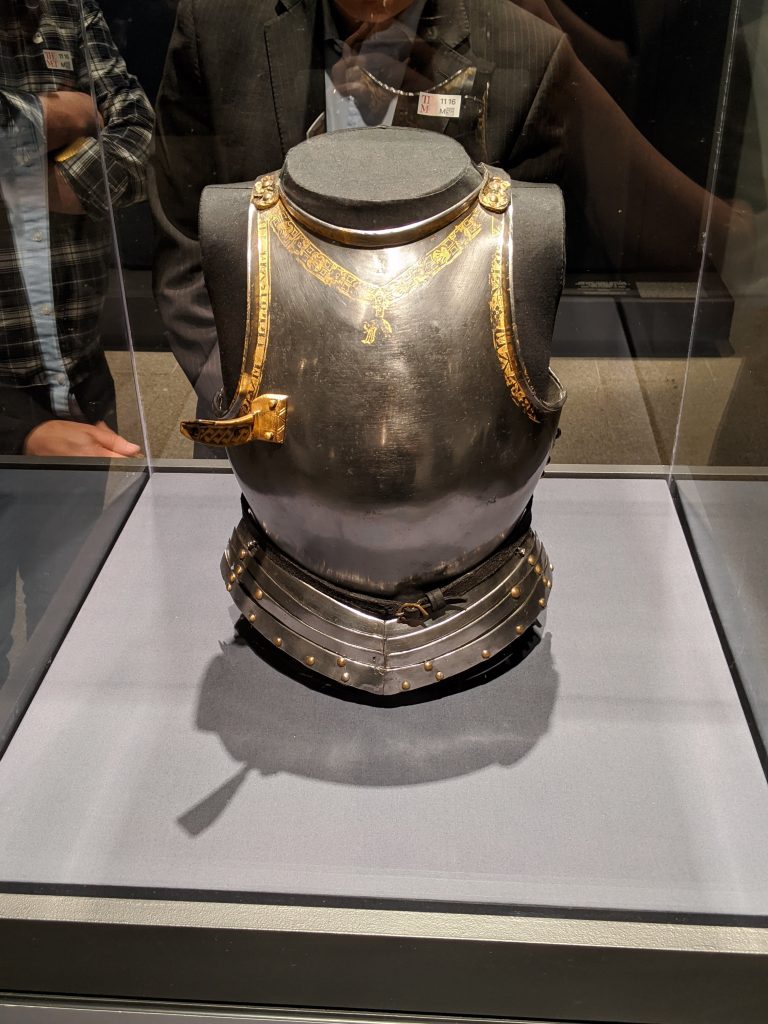
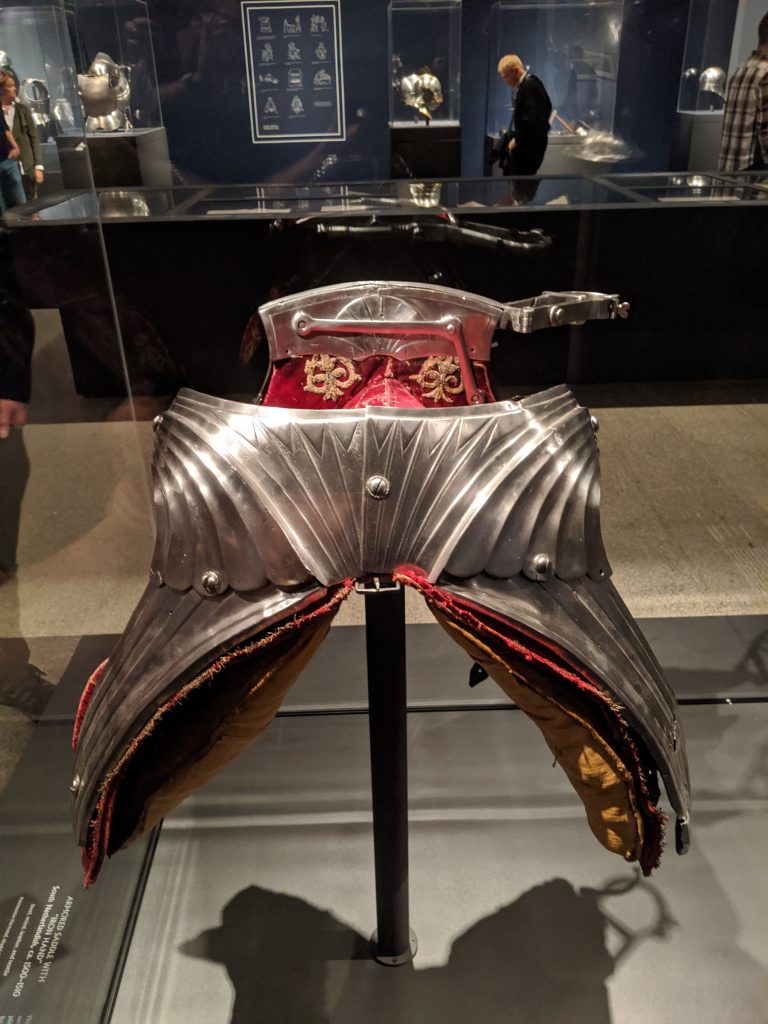
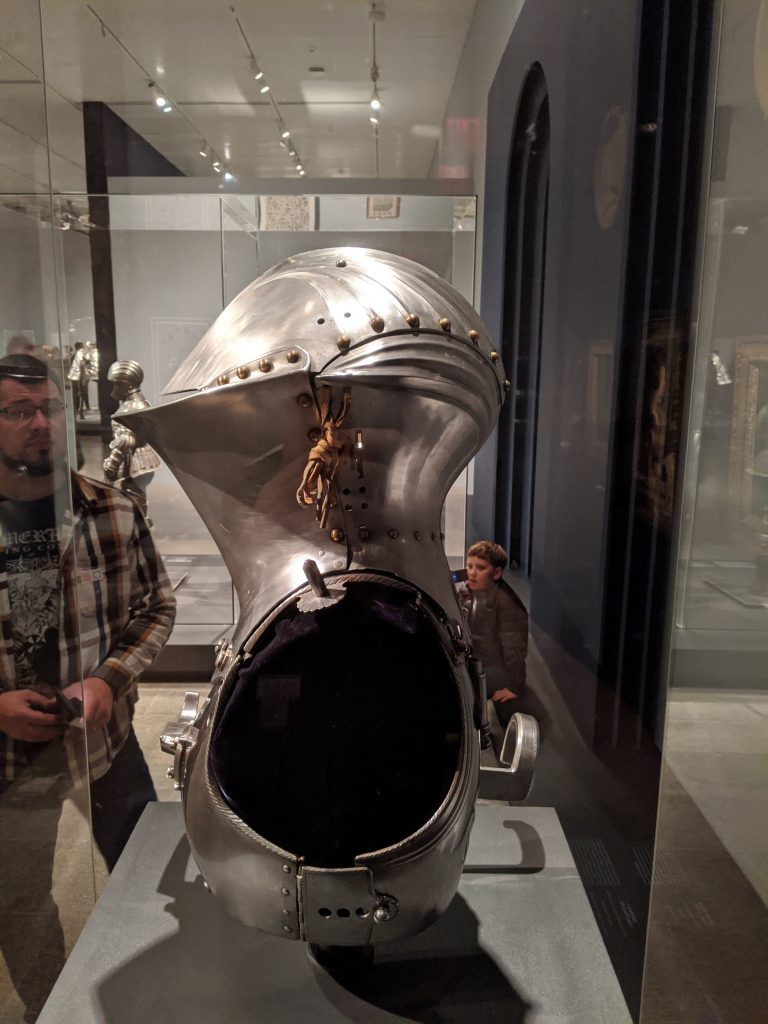
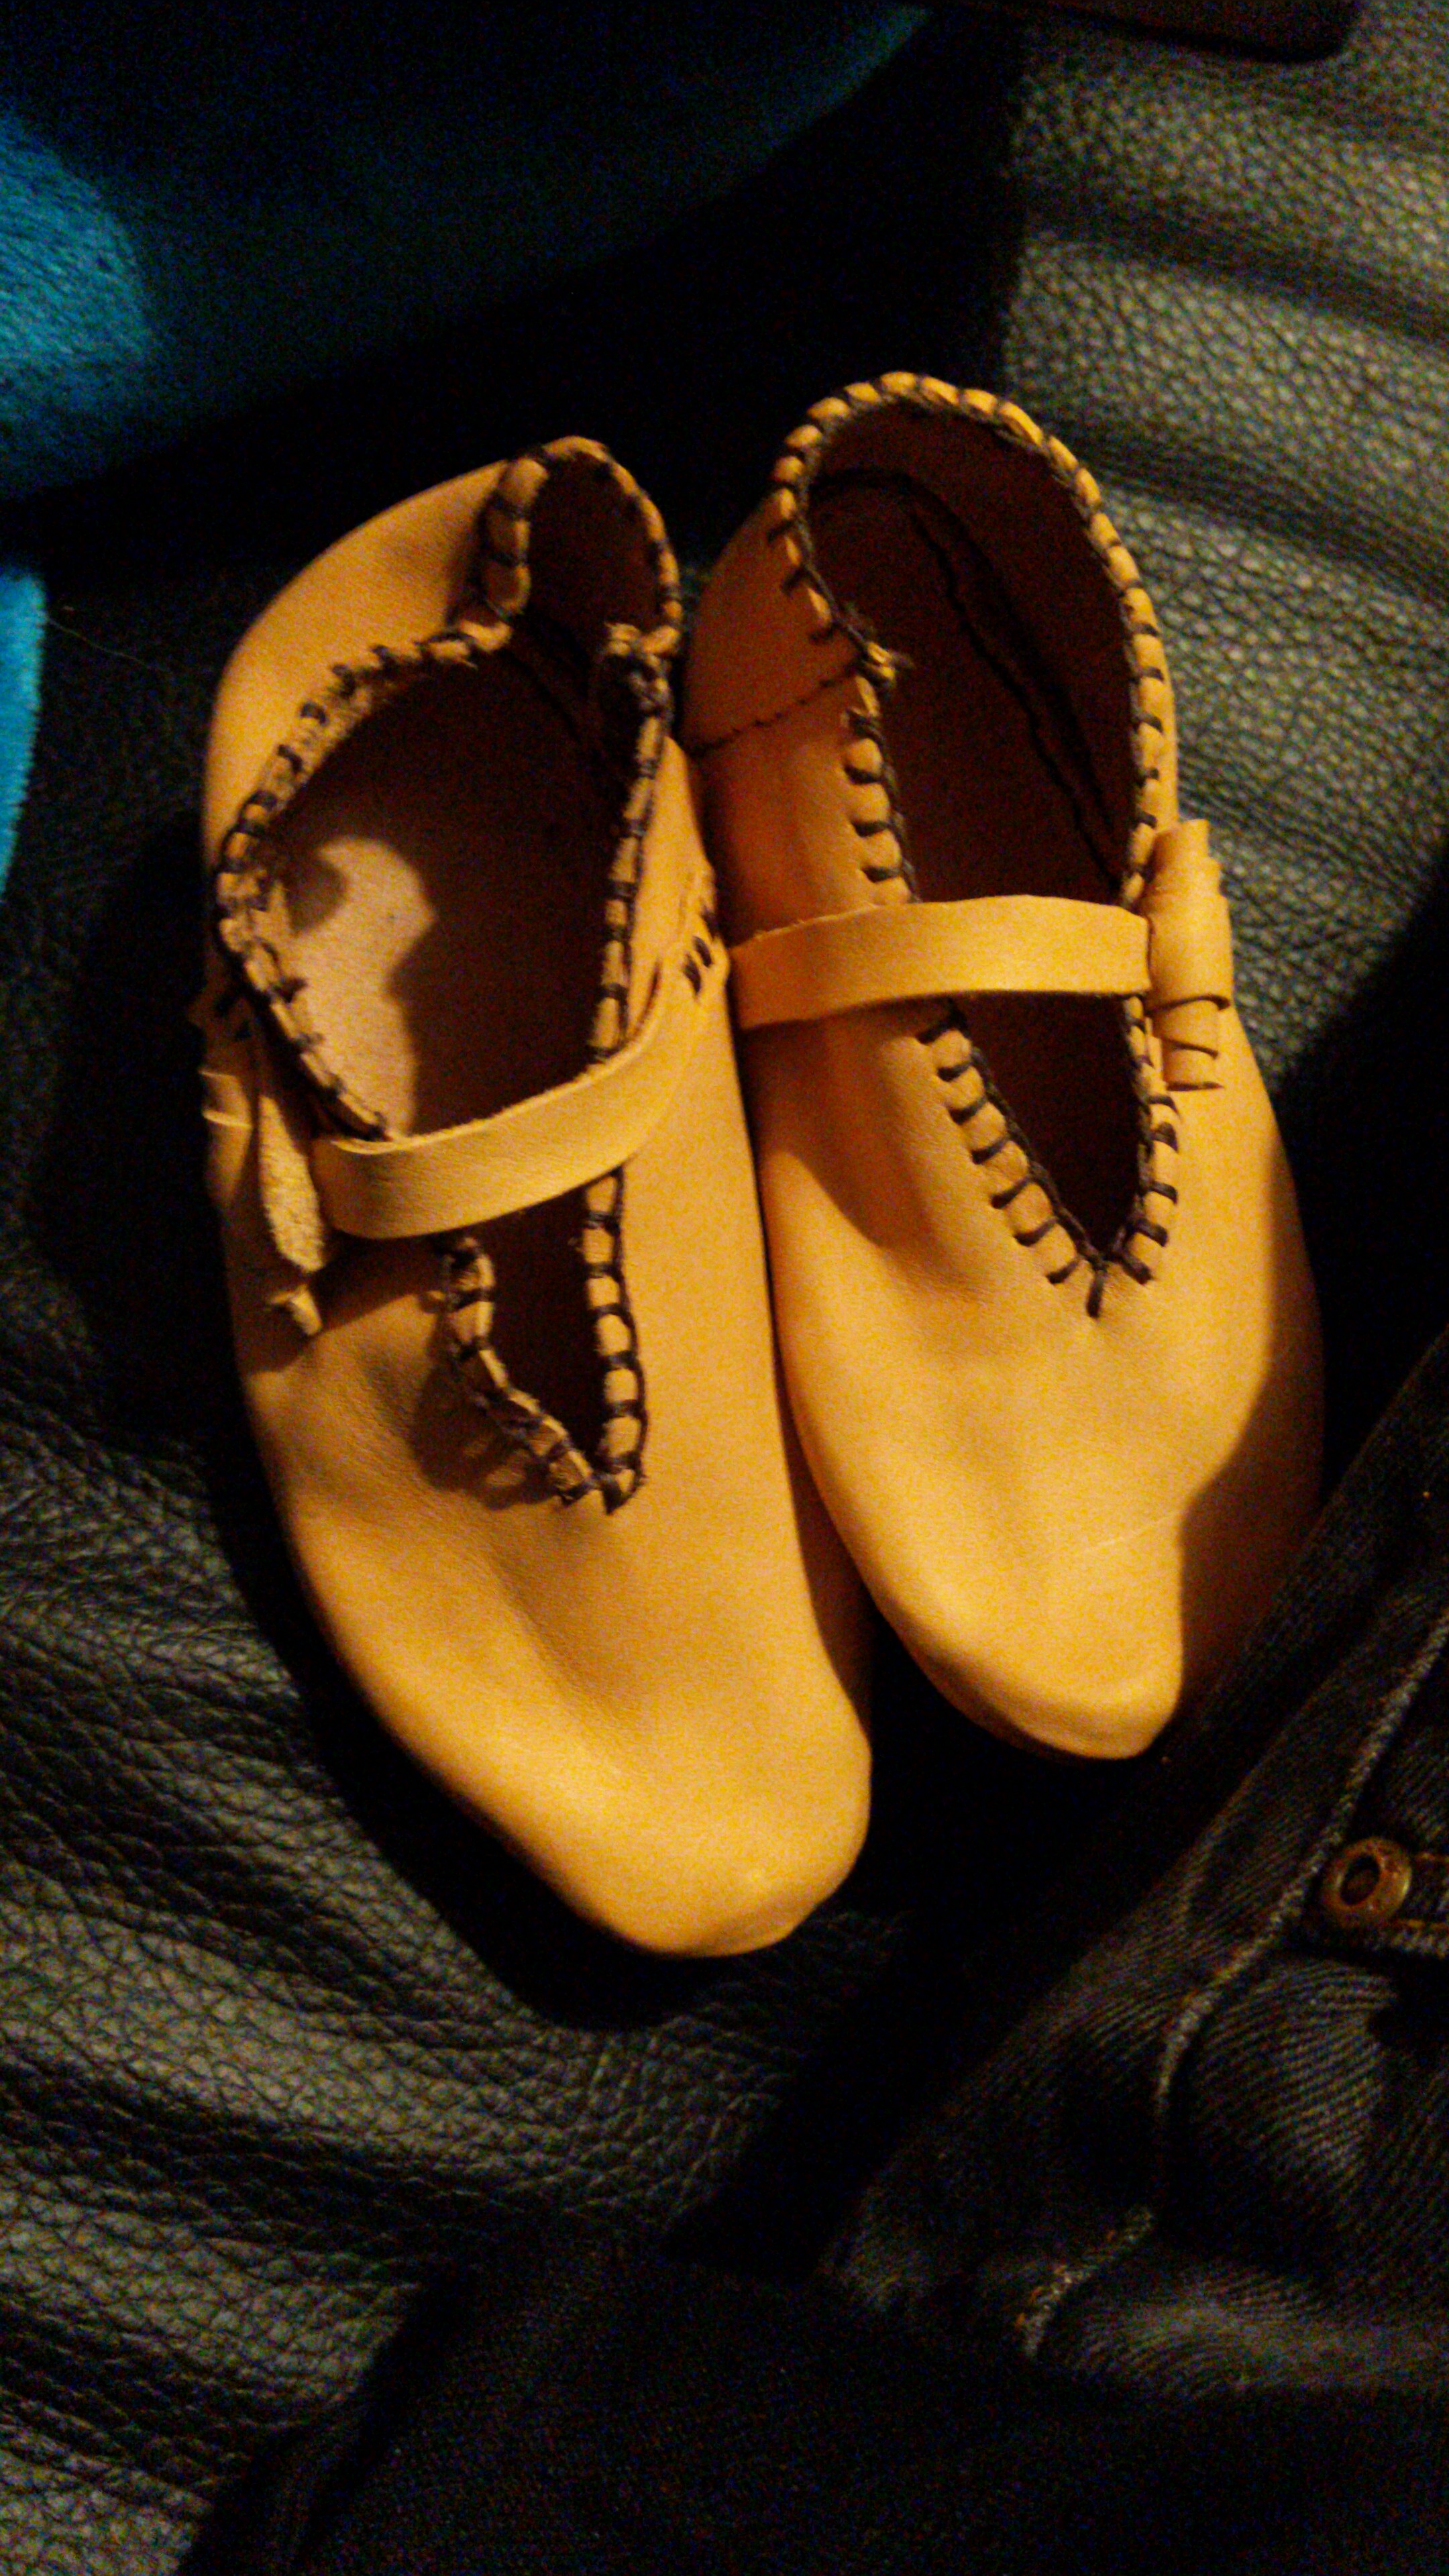
I’ll normally start with what kit do I need for the show. Now at Hastings, I’m a Norman (cavalry) . Cavalry at this point were well off people, dedicated warrior class…. The beginnings of the knightly class.

So a kit list for a Norman Cavalry rider, might look like:

  • Head
    • Padded coif
    • Maile coif
    • Nasel Helm
  • Body
    • Linen tunic
    • Maile hauberk
  • Legs
    • Linen hose
    • Linen under garments
    • Leather hose
    • Leg bindings
    • Shoes
    • Spurs
  • A Kite Shield
  • Sword
  • Spear

I’m going to need to add WD-40 as it’s probably going to rain….

I have a breast plate strap for my horse, and a set of Norman stirrups.

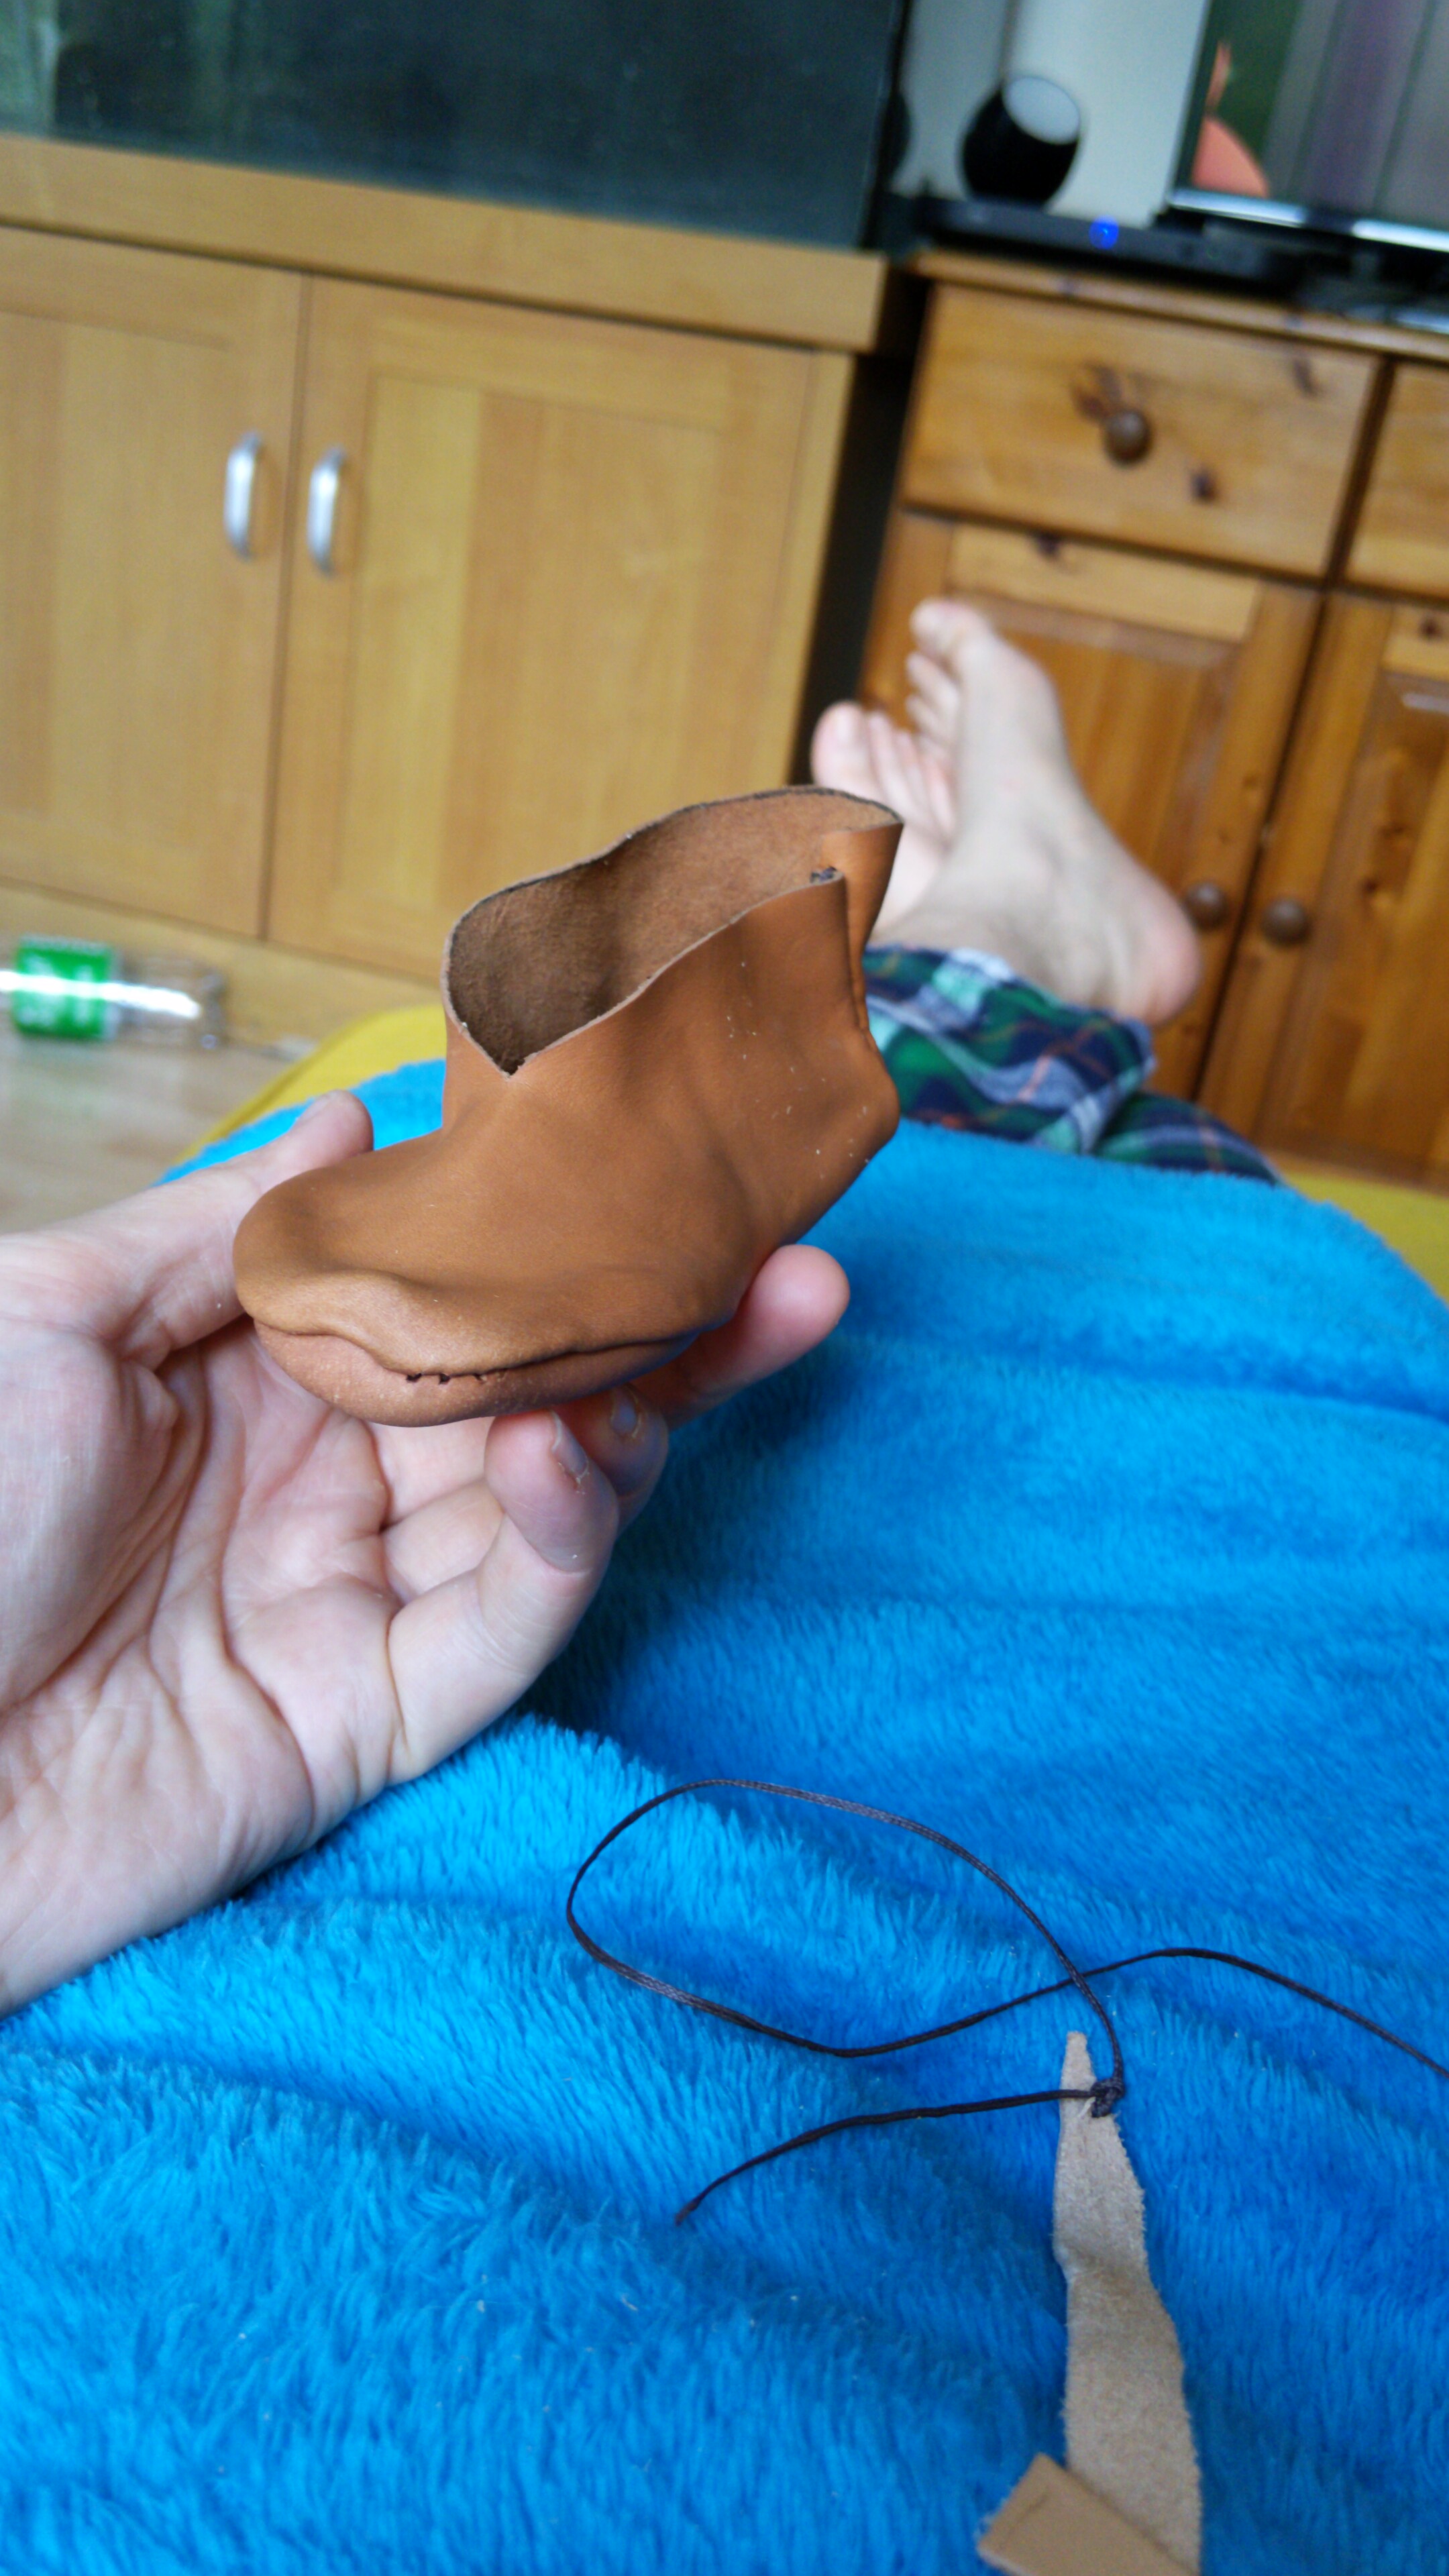
I do have repairs to my hauberk to do. And my linen tunic. So that needs to happen next.

Hastings day one

This show is several horse suppliers with several groups providing riders. As such, we tend to have a full cavalry training. We run through the drill we need to be able to do. We also run through the main plot points we are involved in during the main battle show. I also have to be Taillefer and rehearse my part with the crew that pull Taillefer off his (my) horse, give him (me) a good kicking, then kill him (me) and drag his (my) body into the line to be killed.

All this means we have a really early start. I woke up at 5, I can hear the definite faint sound of rain drinking on the van roof… It has been raining most of the night. I rol over, snooze for a bit, avoiding what I know is coming… I love what I do, but it is hard work.

Up at 5:30, it’s (still) raining… I make breakfast in the back of the van. It’s that cold, damp, every thing is wet, type of damp outside. It’s quiet. Most people don’t have horses to prep so are still sleeping … It’s still dark. The tents round me are getting ready as well (convenient as I’m in the cavalry camping area)

1st things 1st, check horses water and fill up any empty buckets. Next hay, do all the horses have hay? Right, that’s done. One of the other riders from our group is now up, we double team poo-picking all the paddocks. The others are now up and about and they take care of feeding.

We have to be on horses for “practice” at 8 am. At this show, in our group, you look after your own horse, one rider per horse means we are ready very quick. We do a lot of shows over the year, so getting our kit on, tacking up a horse, and mounting by this point in the year… Slick. There’s an issue with being this good … we are the 1st group formed up and waiting. With all things involved in herding cats, or Norman cavalry, like this, the time your told normally has a healthy amount of padding. We stand, in the rain, and wait.

Training was uneventful. Except my horse, Perry had no breaks. As soon as he realised where we were and what he was doing (cavalry charge up a soggy Senlac Hill) he was in Perry mode. A few adjustments to my riding style i.e less riding him like I would in a joust , more riding him like I’m in a Cavalry charge

Cavalry Display 1: raining, boring, I’m not into drill… Not my thing. Then we wait. Show two, the Battle – it’s raining. We were slick… we did our thing… We win… Etc etc

The only thing I had to do (other than be Taillefer) was get the saxon banner at the end of the battle from the king’s guard. Apparently I took too long to do this so the Norman army director Alan went and got it. I didn’t know this as the Kings guard are handing me a banner … another banner ?! a massive heavy 2 handed foote banner… which complicated things slightly as I then had to follow Alan about with his banner – then had to go and make sure the footcrew got their banner back – etc…..

Day one, done, put horses to bed – and off to the pub … in the rain.

As we are walking to the pub there’s a reenactor at the bottom of the hill just off the path being seen to by paramedics as the path had turned to mud, he slipped…. We get into town, eat, get drinks. We are sat in the pub outside the gatehouse of the Abbey, when 2 ambulances, a BIG incident response Ambulance, a BIG off road Ambulance, a paramedic estate car, and then the site paramedics drive past.

Turns out he broke his leg and none of the ambulances could get him out because of the mud so he laid there for 4 hours until they had to call in a 6-Wheel drive ambulance and the “hazardous area recovery team” … in the rain.

The walk back to the horse lines from the pub was very muddy, and wet in the rain.

Hastings Day 2

Today is good, no early morning drill rehearsal – so 1st show is scheduled for midday … however due to the conditions , the show is pulled – “saving the ground for the battle”. This does mean nothing to do until 3pm. Throughout the day you can see the reenactors walking kit back to their cars … there are definitely more ppl walking to cars than people walking to the Living history camps and all the traders have left – bar a couple. Luckily the one I need, “Herts Fabrics” are still there.

The 5 year old tunic I wear under my mail is beyond repair, and has to be replaced. ( more on that in an upcoming post)

We toil away all day doing nothing until 2:30, when we start to tack up the horses and get ready for the battle. It was about this time that Dom notices that his young horse Farron was looking a bit stiff and achy. So rather than push him through (when he had done so well up until now) Dom retires from the battle – our leader is no more.

Its decided by the powers that be – that I’ll take command (when I am not being dragged off a horse and killed) with about 20 min notice and no real clue of the script (I mean I’ve only done this show for 7 years) I just follow the others, and concentrate on what I’m doing… not this time.

Our IDS conroy had 5 horses from Historic Equitation. (There were others – but I don’t have details on them)

  • Dom on Farron – Commander
  • Me on Perry – Commander
  • Cilve on Charlie – Director
  • A Italian rider on Nev
  • Dawid on Bento
  • Viking Chris on Cobrador bringing up the rear keeping everyone in line looking smart.

Now without Clive and Viking Chris we would have been very lost as a group. I made sure we were moving as a unit where we needed to be. Viking Chris and Clive made sure I knew where we needed to be & were on hand to keep me in line.

It was pretty fun, i did enjoy screaming “NORMANDEEEEEEEEE” as we charged about. Especially as you see small kids on the crowd line shouting “normandeeeee” then I scream “NORMANDEEEE” then the IDS chant “NORMANDEEEEE” and then the kids scream “normandeeee’. Other kids boo us so we “NORMANDEEEEEE” at them.

Packup is uneventful – we are 1st of all the horse suppliers packed up (obviously) – but we were 1st one – so last off …

First pair of turn shoes

I’ve been into reenactment for nearly 10 years, I’ve taken part in many periods of history. Shoes are always a pain whatever period your doing. The higher the social class and the later the period, the more you need shoes.

One style of shoes that’s got a long timeline is turn shoes. Simply called, because you make them inside out… wet them… turn them though… simples

I’ve never made shoes, always bought cheap turn shoes. Used them for a season, replace them. Then as I got into the horse side of things, the need for higher status shoes meant I moved away from turn shoes.

To me, buying a pair of £50 turn shoes was worth the price of not having to sew…. I hate sewing… a lot. Nothing’s changed over the years, I still hate sewing.

What had changed though, I now have a child. He came to a show to watch and loved it. However, he didn’t understand that he can’t come and go through the crowd barriers, he can’t just come and sit with his dad.

My plan at this point, get him into kit for the next show. Luckily this was the last show of the season – so I had time to get this sorted.

Knowing nothing about kiddie kit, for any period… one thing I did know, he would need shoes, and turn shoes would be great. Looked online for some – £50. Ummm same as what I would spend on a pair for me, however he wouldn’t get a years use out of them. Kids, for people that don’t have kids, kids grow fast. You might get a few weeks out of an outfit before it’s too small.

Having never made shoes, but knowing the theory of what is needed and knowing that there’s about 8 months before my son will need to use them, as well as knowing that he will have grown out of them by next month…. I’m going into this knowing this specific pair of shoes are just a test. Can I make a pattern? can I sew them? and most importantly – do they fit him? I’m treating these as a test. Work out the process and any gotchas.

The finished shoes.

Making the Patten

A pattern is, the 2d representation of an object, if it had been peeled, laid flat, and then to that, extra material added to join to other parts.

To to make a pattern, you first need to take some measurements, and take some shapes from the person. Then, how I do it, is unfold the thing in my head, lay it flat, and draw that shape out of a sheet of paper. This shape needs to be sized to the shapes of the person. This is going to be mostly trial and error.

Sole of a shoe
The upper of a shoe

So, first thing I did was draw round my son’s feet. And measure a loop round the ball of his foot. The ball of the foot is the widest part, and a joint, so this is a good place to take a measurement from. I also took a measurement from the widest point, round the ball of the foot, i.e the smallest loop you could pull up over your foot, and up round your ankle.

Measurements from my son

Once you think you have an idea of the pattern. Draw it out, cut that out, using tape or a stapler … Put it together.

Several iterations later.. you have you best estimate at a paper shoe, made from your pattern… Disassemble and cut out of leather.

You’re going to want to use a soft supple leather for the upper, and a more rigid tough leather for the sole.

Remember turn shoes are made inside out, so having the skin side ending up on the outside you need to mark and cut out a left and right pair from the rough side of your leather.

Mark and pre make all your stiching holes to ensure a smart neat easy assembly. If your me, you will then spend the rest of the day sewing … then do it again for the other foot.

Both shoes sewn up, your going to need to do the turn part of the turn shoes. Drench and soak them in water. And turn them through

It’s gunna be tricky, just keep working it… smaller shoes are going to be tighter and more effort.

This is one of the gotchas small tight parts will bunch up and be difficult to turn, in your template, avoid points especially on small shoes… if you do want pointy shoes, plan to leave extra space for the bunching and space to turn it through.

Once tip, use a bit of long thin wood, for example.

Using a wooden spoon to push the leather into place.

Keep working and moving the leather, keep it damp

Once that’s done, do the other one. I had a lot of trouble with this bit. Partly because I have never done this before, but I think for the next pair I inevitably have to make, I can tweak the pattern to make turning easier.. the toe for small shoes won’t be as pointy, I’ll make them more stubby. Plus I’ll have done it once now, so I now have an idea how tough I can be with the leather and how much force I can use/need to use.

Taaaa daaa

I chose to add a toggle and loop to help keep the shoes on and some stitching round the foot hole to stop the leather stretching. These being “Test” shoes to work out the process of turn shoe making. I tried a different stitching on each shoe, again experimenting. So, the finished article…

Now, I’m going to oil/dye these. My son’s probably going to wear them once, maybe twice in the house… but my unborn daughter, she might get some use from them.

If you plan to make some shoes, go into it with a open mind, plan to make 2 or 3 pairs before you have something. If you’re trying your hardest to make a perfect shoe it won’t be fun, you won’t learn anything, and you will be disappointed when it’s not how you imagine your perfect pair of shoes. Instead, if you go into this expecting to not use these experiments as actual shoes, but as learning, and just a step to making your perfect shoes. You might surprise yourself, as I did, that they are not perfect, but totally functional.

Remember you can’t wake up having never made a pair of shoes, and expect the 1st pair of shoes you make to be perfect… but you can make a pair of shoes